
How to Grow Microgreens at Home and How to Sell?
Last Updated on January 2, 2023
How to Grow and Sell Microgreens?
Growing microgreens at home is a fun and easy way to produce fresh, nutrient-rich greens year-round. Microgreens are the seedlings of vegetables and herbs that are harvested when they are about 1-3 inches tall. They are a great source of vitamins, minerals, and antioxidants and can be used to add flavor and nutrition to salads, sandwiches, and other dishes. This article discusses the benefits of microgreens, how to grow them at home or in the garden, and how to sell or buy them near you.
What are Microgreens?
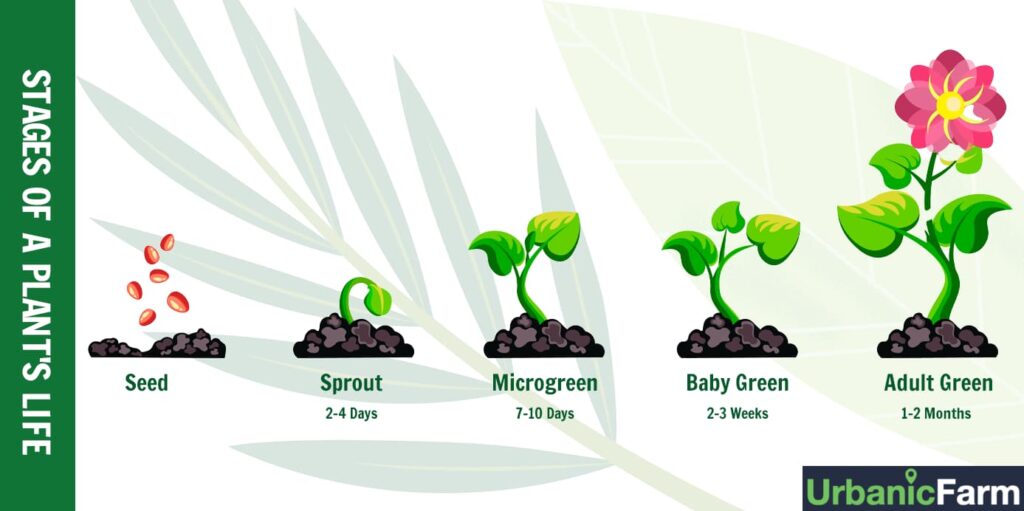
Microgreens are young, tender seedlings of vegetables, herbs, and other plants harvested when they are just a few inches tall. They are a great way to add a burst of flavor, color, and nutrition to your meals, and they are easy to grow at home or in a small garden.
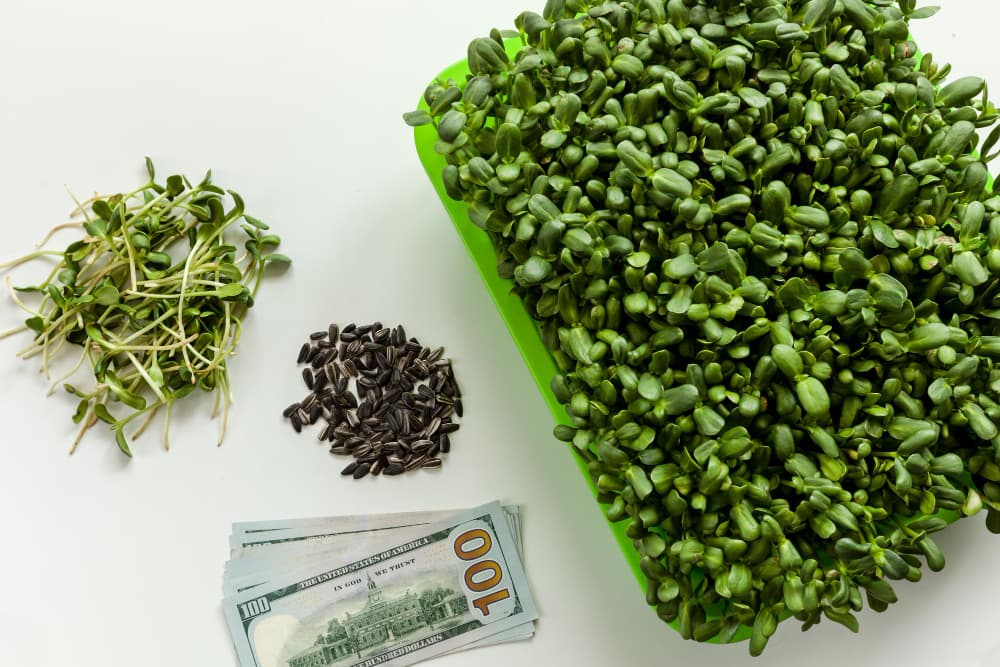
As a nutritional supplement, for visual enhancement, for smoothies, and as food spices, microgreens contain a large amount of nutrients. The most popular microgreens are cabbage, mustard, sunflower, kale, broccoli microgreens, etc.
According to a study by the University of Maryland College of Agriculture and Natural Resources (AGNR) and the United States Department of Agriculture (USDA), Microgreens nutrition is 4 to 40 more than the plant’s nutrients in its maturity stage. So, for example, sunflower sprouts are highly nutritious with health benefits to boost fertility, reduce the risk of anemia, etc.
What is The Difference Between Microgreens and Sprouts?
Sprouts and microgreens are not the same things. People still commonly confuse sprouts with microgreens because sprouts produce underdeveloped leaves after a few days. In contrast to microgreens, sprouts germinate in water under little or no sunlight. Furthermore, microgreens have edible stems and leaves, while sprouts have edible stems and seeds.
What are The Healthy Benefits of Microgreens?
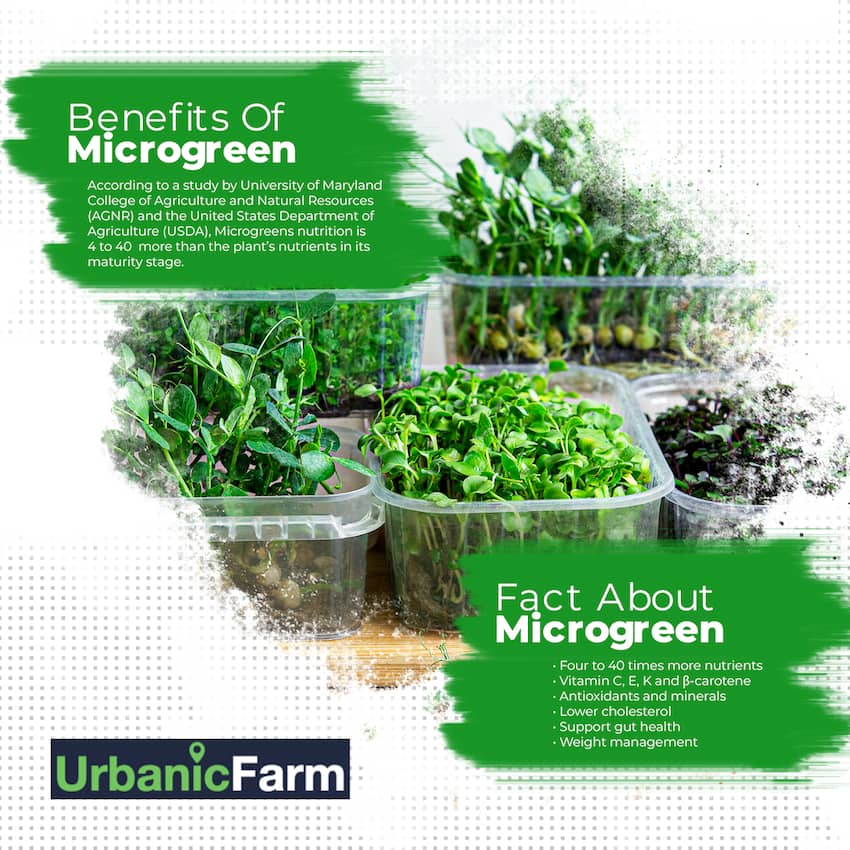
- Four to 40 times more nutrients than their mature counterparts.
- Vitamin C, E, K and β-carotene
- Antioxidants and minerals
- Lower cholesterol
- Support gut health
- Weight management
What are The Other Benefits of Microgreens?
- The seeds germinate in as little as five days.
- Healthy food supplement and tasty Microgreen recipes.
- Small spaces are ideal for cultivating.
- The cost of cultivating microgreens is low.
- This is an excellent place to start gardening.
- It is suitable for all climates.
- Indoor cultivation is possible.
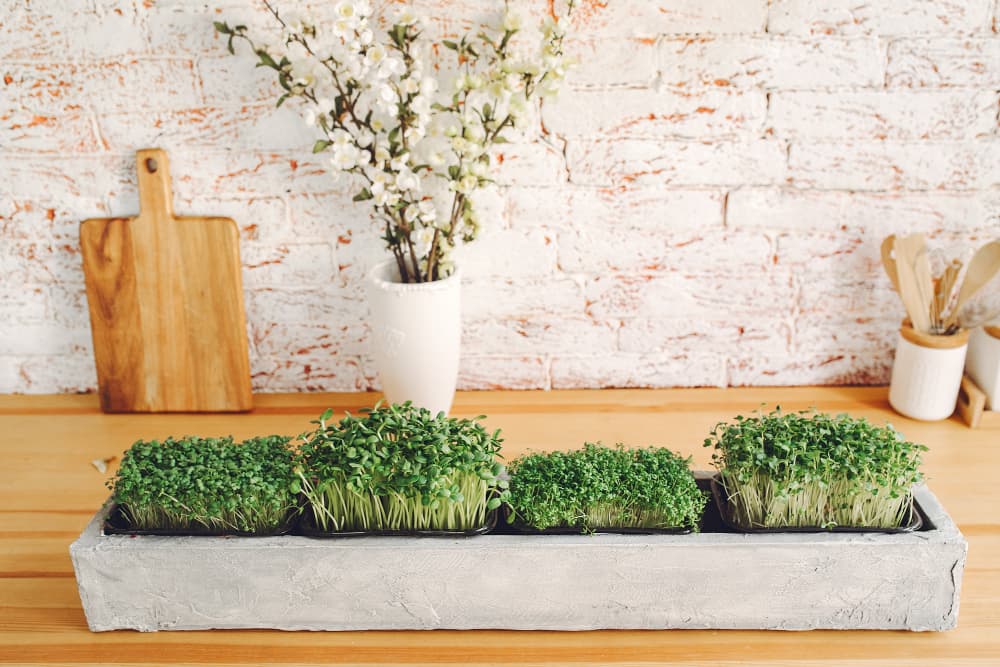
How to Grow Microgreens at Home or in Your Small Garden?
Growing microgreens at home is an excellent way to tap into this lucrative market. Interestingly, you can cultivate microgreens at home or in your garden. Whether you want to cultivate microgreens for sale or consumption is up to you.
To start cultivating microgreens at home or garden, you need some necessary supplies like grow trays, growing medium, organic seeds, a watering can, and a grow light. Grow light is an artificial light source like a 300-watt LED light, as you cannot cultivate microgreens without growing light.
You can use microgreen kits to cultivate microgreens quickly as an alternative to a garden. These kits are microgreen trays with pre-packed seed quilt, making the whole cultivation process easier. All you need to do is water and then harvest.
Here is a step-by-step process for growing microgreens in your home or a small garden.
- Choose the right containers: You can grow microgreens in various containers, such as shallow trays, pots, or recycled containers like yogurt cups or egg cartons. Ensure the container has drainage holes and is at least 2 inches deep.
- Select your seeds: Choose seeds specifically labeled as microgreen seeds, as these are smaller and faster-growing than regular seeds. Some popular microgreen varieties include broccoli, radish, and lettuce.
- Prepare the soil: Fill your container with a sterile, well-draining soil mix and moisten it evenly. You can also use a soilless mix, such as coconut coir or vermiculite. You can read the “how to prepare garden soil for vegetables?” blog post for more information about preparing the soil.
- Sow the seeds: Spread them evenly over the surface of the soil, ensuring they are not too crowded. Cover the seeds with a thin layer of soil or a seedling mix, and gently press them to ensure good soil contact.
- Water the seeds: Water the seeds gently using a watering can or a spray bottle. Keep the soil moist but not waterlogged.
- Place the container in a sunny spot: Microgreens need plenty of sunlight to grow, so place your container in a sunny spot or under a grow light.
- Harvest the microgreens: Harvest your microgreens when they are about 2-3 inches tall, using scissors to cut them just above the soil line. Rinse them gently under cold water to remove any dirt or debris, and enjoy them fresh or cooked in a variety of dishes.
Which Microgreens Can You Grow at Home?
There are so many types of microgreens that you can grow at home or in your small garden. They include:
- Broccoli microgreens
- Sunflower microgreens
- Popcorn shoots
- Radish microgreens
- Arugula microgreens
- Microgreen salad
- Chia microgreens
- Kale microgreens
- Mustard microgreens
- Celery microgreens
- Fenugreek microgreens
- Wasabi microgreens
- Buckwheat microgreens
- Spinach microgreens
- Cabbage microgreens
- Red cabbage microgreens
How to Sell Microgreens or Where to Buy Them?
Now you know how to cultivate microgreens, you probably have so much to eat, and you want to sell your microgreens for profit. There is high demand because eating microgreens is healthy. However, it’s challenging to find a buyer who needs microgreens. To sell your microgreens, you can start by offering them to friends, family, and neighbors.
There is also one way to do that! By using the UrbanicFarm mobile app or website, local farmers, home gardeners, and micro farmers connect directly with consumers in their area –and lower freight costs. We connect micro gardening producers to the local distribution network across the country.
UrbanicFarm is an online marketplace connecting buyers and sellers to reach locally grown, fresh food, including microgreens. As a grower, you can sell your microgreens easily on UrbanicFarm. UrbanicFarm relieves you from the stress of going to a local store and pitching your microgreens for sale or the stress of looking for a buyer.
If you are a buyer looking for where to buy microgreens, you can get freshly produced microgreens for sale near you.
UrbanicFarm also supports growers with seeds, pesticides, seedlings, etc. In addition, you get guidance on watering, planting, and harvesting your plants. Finally, make your farming journey easier with the plant tracking system from UrbanicFarm that reminds you when to tend to your plants.
FAQS For Microgreens
Can You Freeze Microgreens?
Yes, you can freeze microgreens just like any other food to prevent them from spoilage. You can keep the microgreens fresh by putting them in an airtight container. Storing them in a fridge can make them last up to a week.
Can You Eat Microgreens Raw?
Like other vegetables, microgreens with the most nutrients are best taken raw. So microgreens can be eaten raw. They are often used as a garnish or added to salads and sandwiches for a burst of flavor and nutrition. However,
Which Microgreens Regrow?
Many microgreens can regrow after they have been harvested. The process of regrowing microgreens is similar to growing them from seed. To regrow microgreens, follow these steps:
- Select a container with drainage holes, such as a shallow tray or a plastic container with holes punched in the bottom.
- Fill the container with a soil-less growing medium, such as a mixture of peat moss and perlite or a commercial seedling mix.
- Moisten the growing medium evenly.
- Place the microgreens in the container, ensuring the roots are in contact with the soil.
- Place the container in a sunny location and keep the soil moist.
- In a few days, the microgreens should begin to regrow.
Some common microgreens that can be regrown include pale, arugula, radish, kale, and beans microgreens. It is important to note that not all microgreens will regrow, and the success of regrowing them will depend on the variety and the care they receive.
How Often do Microgreens Need Water?
It is essential to water microgreens at least 1 to 2 times a day. However, be careful not to drown the seeds by overwatering them.
Are Microgreens More Nutritious?
Microgreens are generally considered more nutritious than their mature counterparts because they are harvested at a younger stage of growth, when the plant is more nutrient-dense. For example, According to a study published in the Journal of Agricultural and Food Chemistry, red cabbage microgreens have higher vitamin C, E, and K levels than mature red cabbage.
It is also important to note that while microgreens can be a good source of nutrients, they should not be the sole source of nutrition in a diet and should be consumed as part of a varied and balanced diet.
How To Keep Microgreens
There are several ways to store microgreens to keep them fresh and prolong their shelf life. Here are some tips for storing microgreens:
- Wash the microgreens thoroughly to remove any dirt or contaminants.
- Pat the microgreens dry with a paper towel or a clean cloth.
- Place the microgreens in a damp paper towel or cloth and wrap them tightly.
- Place the wrapped microgreens in a plastic bag or container and store them in the refrigerator.
- Alternatively, you can store microgreens in a container with a lid and add a little water to the bottom of the container to keep the microgreens hydrated.
- Avoid storing microgreens in an airtight container, as they need air circulation to stay fresh.
- Check on the microgreens regularly and remove any that are wilted or spoiled.
By following these tips, you should be able to keep your microgreens fresh for a few days. It is best to use them as soon as possible after harvesting for the best flavor and nutrition.